 Security
- Everything
- Access Controls
- Access certification
- Alex Meyer D365FO Blog
- Audit
- Audit Trail
- AuditBoard
- Azure
- Change Management
- Change Tracking
- Cloud
- Compliant user provisioning
- Continuous monitoring
- Controls
- Critical Access
- Cross Application
- Customer Success
- Dynamics 365
- Dynamics AX
- Dynamics CRM
- Dynamics GP
- Dynamics NAV
- Dynamics SL
- Event
- FAQs
- Fastpath Customer Tips
- Fraud
- G2 Reports
- GRC
- Higher Education
- IGA
- IT Risk Management
- Identity Governance and Administration
- Identity Lifecycle Management
- Identity Management
- Internal Controls
- Licensing
- Microsoft
- Microsoft Dynamics
- Netsuite
- Oracle
- Oracle Cloud
- Oracle EBS
- Privacy
- RBAC
- Risk
- Risk analysis
- Role management
- SAP
- SOD
- Salesforce
- Sarbanes Oxley (SOX) Compliance
- Security
- Security and Compliance
- Separation of Duties
- UK Corporate Governance Reform
- UK Corporate Reform
- UK SOX
- User Conflicts
- User Management
- Workday
- cybersecurity
- identity, access and governance
Everything
- Access Controls
- Access certification
- Alex Meyer D365FO Blog
- Audit
- Audit Trail
- AuditBoard
- Azure
- Change Management
- Change Tracking
- Cloud
- Compliant user provisioning
- Continuous monitoring
- Controls
- Critical Access
- Cross Application
- Customer Success
- Dynamics 365
- Dynamics AX
- Dynamics CRM
- Dynamics GP
- Dynamics NAV
- Dynamics SL
- Event
- FAQs
- Fastpath Customer Tips
- Fraud
- G2 Reports
- GRC
- Higher Education
- IGA
- IT Risk Management
- Identity Governance and Administration
- Identity Lifecycle Management
- Identity Management
- Internal Controls
- Licensing
- Microsoft
- Microsoft Dynamics
- Netsuite
- Oracle
- Oracle Cloud
- Oracle EBS
- Privacy
- RBAC
- Risk
- Risk analysis
- Role management
- SAP
- SOD
- Salesforce
- Sarbanes Oxley (SOX) Compliance
- Security
- Security and Compliance
- Separation of Duties
- UK Corporate Governance Reform
- UK Corporate Reform
- UK SOX
- User Conflicts
- User Management
- Workday
- cybersecurity
- identity, access and governance
Everything
 GRC
GRC
Top 10 Reasons Why Organizations Choose Fastpath
By Janna Prowell
03/25/2024
4min read
 Security
Fastpath Joins Forces with Delinea to Deliver Enhanced Access Governance and Security
By Frances Fenemore
03/22/2024
4min read
 Netsuite
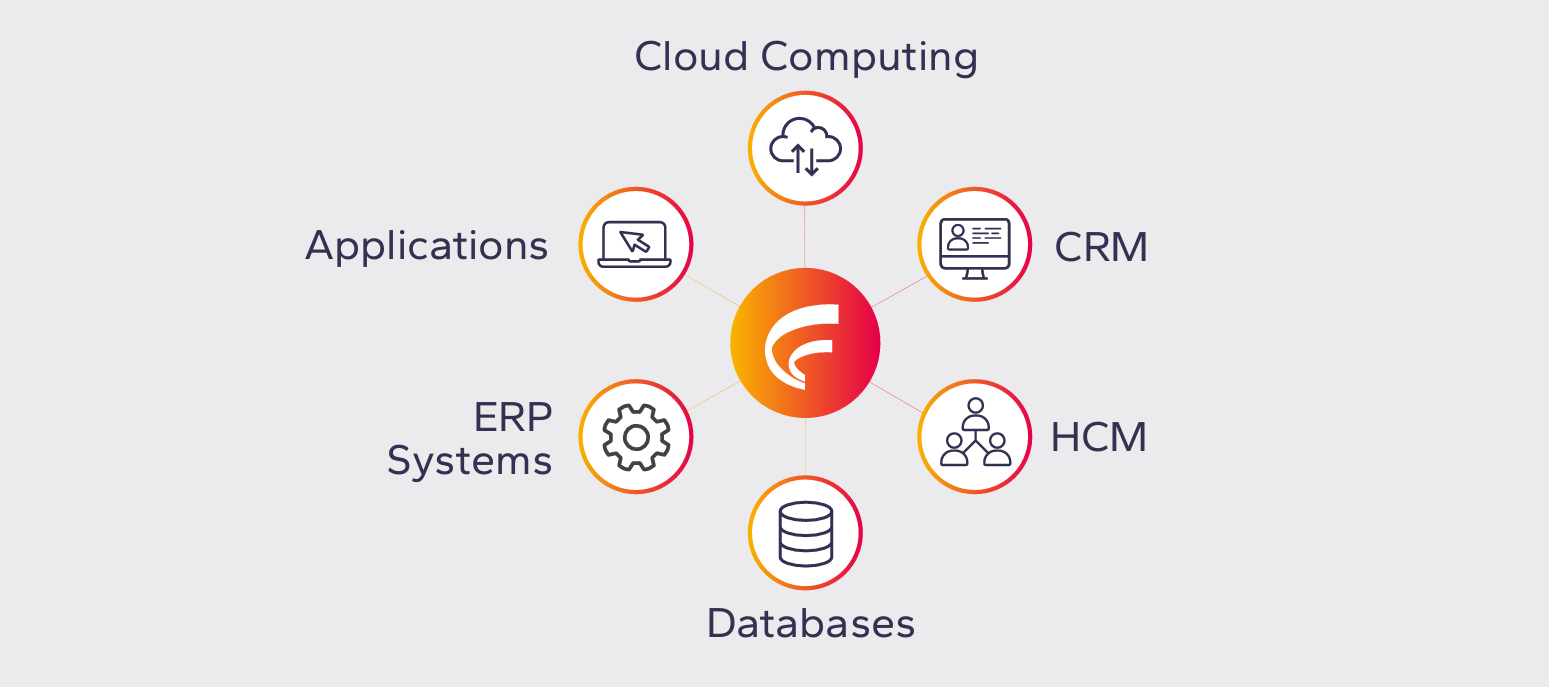
Learn How Fastpath Can Secure Popular Business Applications
By Chelsea Bohnert
03/15/2024
5min read
 Oracle
Make the Switch from Oracle AACG to Fastpath Before the 2025 Deadline
By Fastpath
03/13/2024
2min read
 Access certification
Webinar Recap: The Evolution of User Access Reviews and Certification
By Jamie Cant
03/12/2024
5min read
 Access certification
Fastpath's Certification Module
By Chelsea Bohnert
03/08/2024
1min read
 Security
Future-Proofing Your Identity Governance and Administration (IGA) Strategy for Success
By Frances Fenemore
12/21/2023
2min read
 Access certification
Protect What Matters: Lock Down Your Online Retail Business During Peak Season
By Frank Vukovits
11/27/2023
2min read
 Dynamics NAV
2023 Community Summit – The Fastpath Review
By Jamie Cant
11/01/2023
3min read
Security
Delinea Completes Acquisition of Fastpath
By Frances Fenemore
04/02/2024
3min read
GRC
Top 10 Reasons Why Organizations Choose Fastpath
By Janna Prowell
03/25/2024
4min read
Security
Fastpath Joins Forces with Delinea to Deliver Enhanced Access Governance and Security
By Frances Fenemore
03/22/2024
4min read
Netsuite
Learn How Fastpath Can Secure Popular Business Applications
By Chelsea Bohnert
03/15/2024
5min read
Oracle
Make the Switch from Oracle AACG to Fastpath Before the 2025 Deadline
By Fastpath
03/13/2024
2min read
Access certification
Webinar Recap: The Evolution of User Access Reviews and Certification
By Jamie Cant
03/12/2024
5min read
Access certification
Fastpath's Certification Module
By Chelsea Bohnert
03/08/2024
1min read
Security
Future-Proofing Your Identity Governance and Administration (IGA) Strategy for Success
By Frances Fenemore
12/21/2023
2min read
Access certification
Protect What Matters: Lock Down Your Online Retail Business During Peak Season
By Frank Vukovits
11/27/2023
2min read
Dynamics NAV
2023 Community Summit – The Fastpath Review
By Jamie Cant
11/01/2023
3min read
 Netsuite
Navigating NetSuite: Insights from SuiteWorld and the Importance of Having Strong Internal Controls
By Chelsea Bohnert
11/01/2023
2min read
 Risk analysis
Reality Check: Lessons of the MGM Resorts Security Breach
By Frances Fenemore
10/20/2023
2min read
 Netsuite
SOX Compliance Certification | Fastpath and NetSuite
By Ryan Gase
10/16/2023
3min read
 Access Controls
Strengthening Cybersecurity with Fastpath: Protect What Matters
By Frances Fenemore
10/05/2023
2min read
 UK SOX
Making UK Corporate Governance Reform Work for Your Organization
By Jamie Cant
09/06/2023
5min read
 UK SOX
UK Corporate Governance Reform: Four Key Changes Your Organization Needs to Make
By Jamie Cant
08/18/2023
3min read
 Access Controls
The Access Control Paradigm - Unpacking ABAC, PBAC, and RBAC
By Chris Aramburu
08/08/2023
5min read

Elevating Compliance and Security: The Role of IGA Solutions and SOD Capabilities in the Mid-Market
By Frances Fenemore
08/08/2023
3min read
 Access Controls
The Significance of Internal Controls in the UK Corporate Reform Act
By Frances Fenemore
07/10/2023
2min read

Identity GRC – Efficiently automate identity lifecycle management while adhering to security and regulatory policies.
By Charles Snellgrove
07/10/2023
2min read
 Access Controls
The Crucial Role of Access Controls in Identity Governance and Administration Platforms
By Frances Fenemore
06/29/2023
4min read

UK SOX –What Should You Be Doing Now?
By Frances Fenemore
06/13/2023
2min read
Access Controls
Tailoring Access Risk Policies: Customizing Risk Rulesets for Your Organization's Unique Needs
By Chris Aramburu
06/13/2023
3min read
 Access Controls
Best Practices for Managing Access Controls in Your ERP System
By Fastpath
05/19/2023
6min read
 Sarbanes Oxley (SOX) Compliance
SOX Compliance Requirements in 2023: What Businesses Need to Know
By Fastpath
05/19/2023
9min read
 Audit
Audit
The Empire’s Compliance Mess – More Problematic Than an Exposed Thermal Exhaust Port
By Fastpath
05/04/2023
2min read
 G2 Reports
G2 Risk Management Report Spring 2023 | Fastpath #1
By Fastpath
04/05/2023
2min read

Observations from IIA’s 2023 GAM Conference
By Fastpath
03/24/2023
4min read
 Identity Management
Protect Your Organization with an Identity-Centric Approach
By Stuart Beattie
03/23/2023
9min read

Top 5 Tips for Onboarding New Employees in the Workplace
By Fastpath
03/13/2023
4min read
 Identity Governance and Administration
What is Identity Governance and Administration, and who needs it?
By Fastpath
03/13/2023
2min read
 IGA
IGA
What can an IGA System do for you?
By Fastpath
03/13/2023
4min read
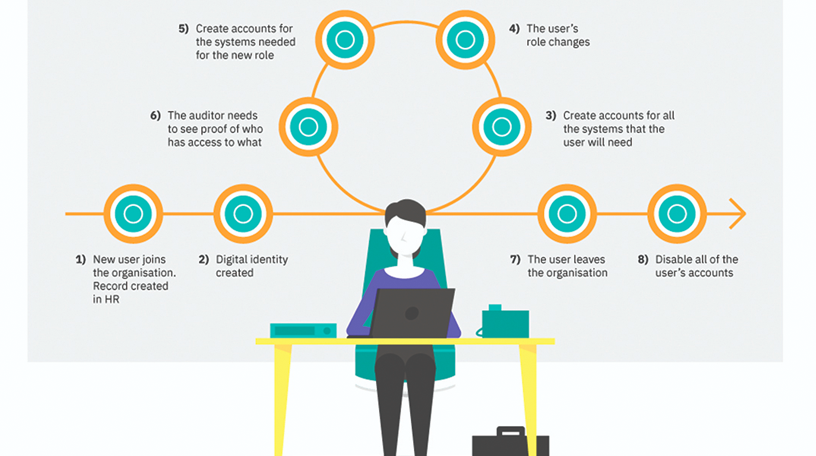 Identity Lifecycle Management
Identity Lifecycle Management | Fastpath
By Fastpath
03/10/2023
7min read
 Identity Lifecycle Management
Automated Access Provisioning for your Organization’s Joiners
By Frank Vukovits
03/10/2023
4min read
 Access Controls
Securing Student Access in Higher Education Institutions
By Fastpath
02/10/2023
5min read
 Identity Management
Ease the IT Burden – Better User Account Management
By Fastpath
02/10/2023
2min read
 Identity Management
Controlling User Admin Costs in Higher Ed without Compromising Security and Compliance
By Fastpath
02/10/2023
3min read
 Access Controls
SOX Compliance - Salesforce | Fastpath Access Management
By Ryan Gase
02/09/2023
2min read
 Access Controls
Workday Security | Fastpath Access Control
By Nick Sparks
02/09/2023
4min read
 G2 Reports
Fastpath Rated #1 IT Risk Management Solution in G2 Winter 2023 Report
By Fastpath
01/19/2023
2min read
 Risk analysis
Where does Fastpath fit in your organization?
By Chris Aramburu
01/06/2023
2min read
 Dynamics 365
Moving D365 for Finance & Operations Security Between Environments
By Alex Meyer
12/08/2022
2min read
 Role management
Who Should Own The Auditing Tool In Your Company?
By Fastpath
12/08/2022
2min read
 Access Controls
Fastpath Announces Rebrand as it Combines Access Controls with Identity Governance
By Fastpath
11/18/2022
2min read
 Audit
Audit
Fastpath and AuditBoard: Powerful Audit and Compliance Capabilities
By Frank Vukovits
11/17/2022
1min read
 Dynamics 365
Fastpath Joins Microsoft Intelligent Security Association
By Frank Vukovits
11/17/2022
1min read
 Dynamics 365
Save on Licensing Costs in D365 Finance and Operations with Fastpath
By Alex Meyer
11/15/2022
8min read
 Access Controls
Mandatory vs. Role-based Access Controls | Fastpath
By Fastpath
11/15/2022
5min read
 Access Controls
What is Role Based Access Control (RBAC)?
By Fastpath
11/15/2022
3min read
 G2 Reports
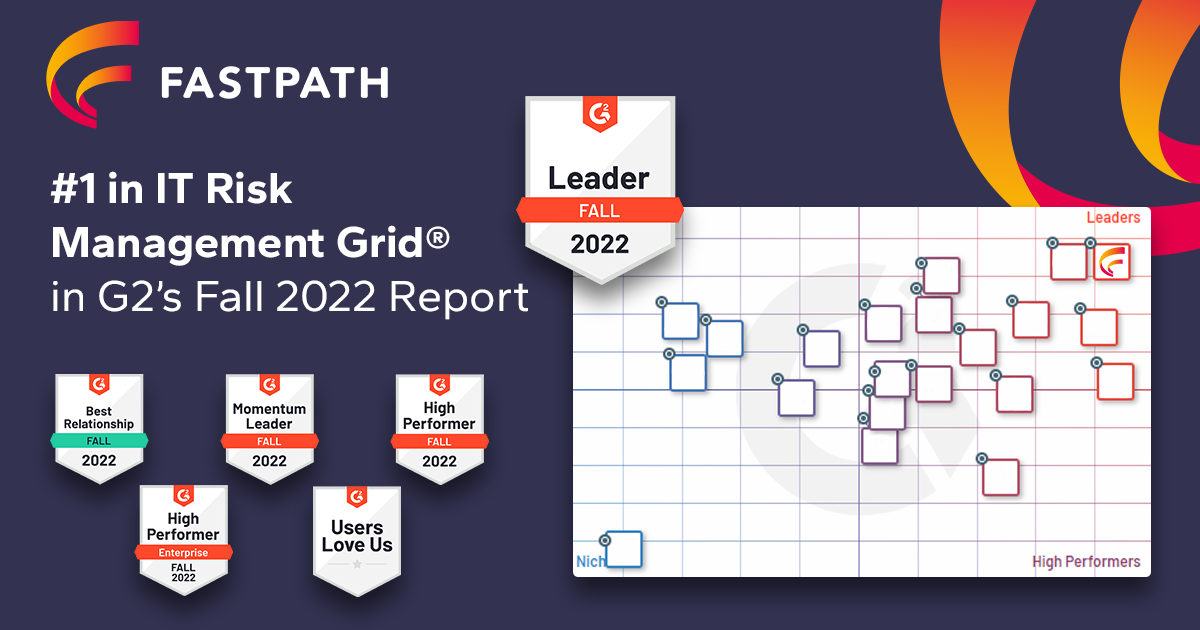
Fastpath Leads the Pack as #1 IT Risk Management Solution in G2 Fall 2022 Report
By Fastpath
11/15/2022
2min read

Why Your Company Needs a Digital Employee Directory
By Fastpath
11/14/2022
3min read
User Conflicts Detail Report in Fastpath
By Mark Polino
11/11/2022
2min read
 Oracle EBS
Consider moving from Oracle AACG to Fastpath: Now is the time!
By Fastpath
11/10/2022
2min read
 Access Controls
Top Tips for Offboarding Employees in the Workplace
By Fastpath
11/10/2022
5min read
 Identity Management
Synchronized System Access Removal for Your Leavers
By Fastpath
11/10/2022
2min read
 Access Controls
Using Zero-Trust And Least Privilege Access To Overcome Threats
By Frank Vukovits
11/09/2022
4min read
 Audit
Audit
Is Your Organization Secure?
By Frank Vukovits
11/09/2022
6min read
 Audit Trail
Best Practices to Consider When Setting up Audit Trails
By Fastpath
11/08/2022
2min read
 Sarbanes Oxley (SOX) Compliance
SAP Controls Series: Get SAP Under Control
By Aidan Parisian
11/04/2022
3min read
 Sarbanes Oxley (SOX) Compliance
SAP Access Controls: An Audit Introduction
By Aidan Parisian
11/04/2022
4min read
 Sarbanes Oxley (SOX) Compliance
Why care about SAP access controls?
By Aidan Parisian
11/04/2022
2min read
 Netsuite
NetSuite Custom Record Security
By Fastpath
11/04/2022
3min read
 Netsuite
Tracking Changes in Scripts and Workflows to Improve NetSuite Security
By Fastpath
11/01/2022
8min read